Monday, February 10, 2014

Heart-Themed Party

Well, as promised.  I am giving you more ideas for a heart-themed party.  My daughter actually planned this for her birthday party when she turned seven.  Her birthday is in November, shortly after Halloween, so pink and red heart-shaped things are very hard to come by in a sea of orange, black and purple harvest items.  Thank goodness she is a planner (a chip off the ol' block I tell you), and told me her idea for her birthday ten months in advance, so I could take advantage of all the 50% off Valentine sales mid February.  This is one of my keys for thrifty party planning.  If you know far in advanced what the theme will be, you can pick up sale and clearance items along the way, all year long.

It was all about heart shaped things at our heart-themed birthday party
Well, the first thing we decided to do was get heart themed party items at the dollar store and of course Valentine's clearance.  They had paper plates, napkins, favor bags and buckets, all for, you guessed it, $1 or less if you hit a sale.  I always buy extra tablecloths to help decorate flat surfaces around the house.  Just cut them to the width you need and you are good to go.  Even these cute, extremely fancy bags were found on clearance.  I will often use the bags or presents found in the theme in the entry of the party to add to the decor.


These little buckets are filled with some garden foam blocks that had been cut into smaller pieces and stuffed with one piece of shiny tissue, a long dowel that had been cut to make many smaller dowels, and a foam heart shape taped on.  I made a few of these and used them as centerpieces around the house.


I used the same tablecloths and matching paper favor bags to add a cohesiveness to the rooms.  The favor bags were filled with clearance Valentine's toys.

I line the favor bags up on the fireplace mantle to help add to the room decorations
Another mention about the decor.  I found on clearance a TON of these adorable heart-shaped ornaments.  I wasn't sure at the time what I was going to do with them... but knew I could use them somehow. You can't passed up $1 for 25 ornaments, right?  Then a thought struck me a few weeks before the party.  What if we put our tree up a month early (it was November) and deck it out with the mini hearts and some pink ornaments we already had on hand? It felt slightly wrong to put up the tree before Thanksgiving, but for this theme it really worked adorably. It made quite a statement as people came in the door.  Plus it was a bonus, the tree was already up and ready to go for the Christmas holiday season.  Oh, and by the way, it doesn't hurt to dress your birthday person in the heart theme as well.


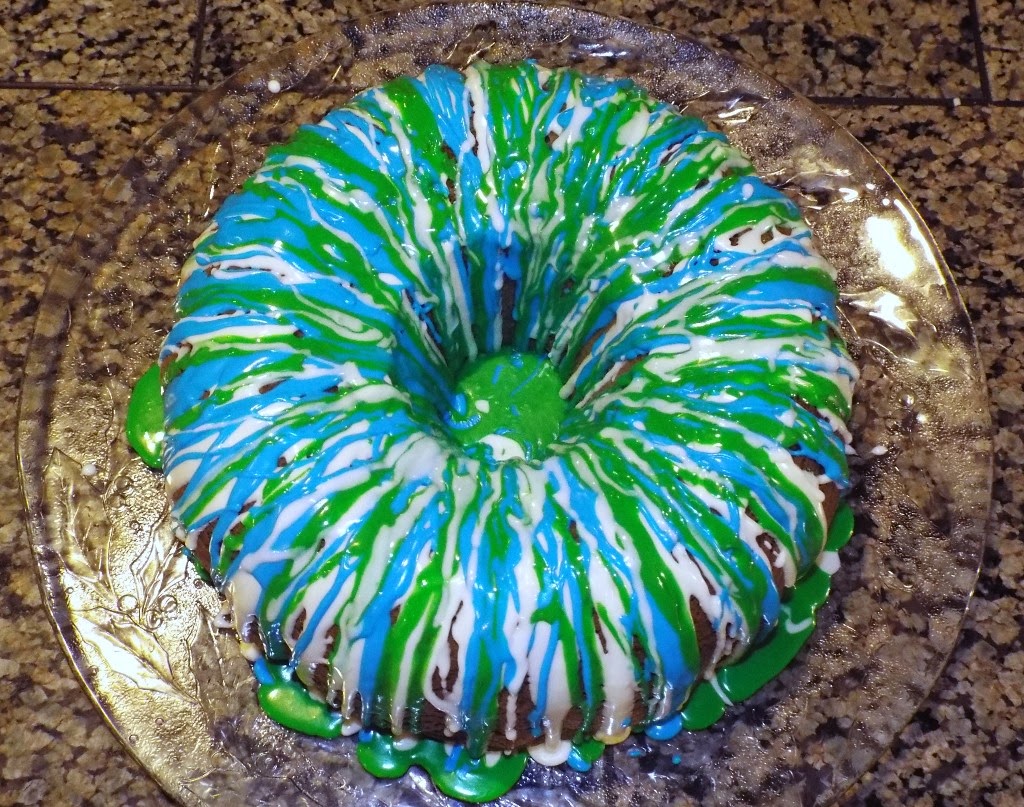
We knew we wanted a heart-shaped cake.   I bought two heart pans in the holiday clearance for mere pennies (score!) But with friends from school, and then our big family coming later in the day, I would need more than one kind of cake.


I had read in Family Fun magazine that year about an easy way to make heart shaped cupcakes as well, using a regular muffin tin and glass marbles.  Click here for a full tutorial on how to make them.

These were a BIG hit with the party goers.
For drinks I served pink raspberry soda (sold in 2 liter bottles) but for added fun, a few days before the party, I made a ton of heart-shaped ice cubes from some silicone molds I got on clearance.  I made them out of Crystal light strawberry orange banana flavor, but you could use any flavor.  The kids really got a kick out of their heart-shaped ice cubes floating in their drinks.


For food I went pretty simple.  Sometimes our food themes go over the top, but this year it was simple sandwiches, chips, fruits and veggies.  I try to put them on heart-shaped plates, and cut the sandwiches into hearts as well.


For crafts, we had two.  If you have a larger number of kids coming to the party, I have found it is sometimes easier if you have two crafts happening at the same time.  Half the party peeps can do one craft in one room... and the other half can finish a different craft in another room.  If you only have enough money for one craft, I usually make the other craft a stack of free printable coloring pages in the party theme.  Having two crafts at once works well if you are tight on space.  For example, in one room, we had a simple heart sticker craft, with foam letters and shapes.  The kids had a great time designing their pictures.


In the kitchen, we had them make bracelets with heart-shaped beads.


Games! Of course what's a party without games?  We always try to make our theme match the games we play.  We had three great ideas.  The first idea was to play the "Achy Breaky Heart Game".  This was like "hot potato" only we had a heart that was filled with strawberry candy.  We played Achy Breaky Heart as they passed the heart around.  If they passed too hard, the heart would break open and they were out.  If the music stopped when they had the heart, they were out (and of course were heart broken).

They look pretty chipper here...
If you are going to play an elimination game like musical chairs or hot potato, it is good to have a consolation prize.  We said if you got "out" you were able to have a heart sucker.  That way, no one really minds being out, and they are happy to enjoy a small treat while they watch the rest of the game play.


The next game we played was the "Wandering Hearts Game".  This was like musical chairs, only we had foam heart shapes on the floor and they had to walk around and land on a heart when the music stopped.  

Having a fun time in the wandering hearts game
We played "Queen of Hearts" for this song.  My hubby, by the way, had a great time making a CD of music for the party with only songs that had the word "heart" in them.  "You'll be in my Heart", "Heart Breaker", Don't go breaking my Heart", "Heart of Glass", Wild at Heart"... The third and final game we called "Love is Blind".  Players would be blindfolded with an empty bowl and a large spoon, next to a pile of cotton balls.  They then had 30 seconds to try and find the cotton balls, using only the spoon and no hands.  The cotton balls are so light weight, they are hard to feel, so you never know how many are going into the bowl.

Sometimes NONE go in the bowl
 The kids loved this game.


The people that are watching are laughing so hard at the people scooping up mostly air.  A good time was had by all during this game.  I highly recommend it.  Matter of fact there was a few adults who took a very competitive liking to this game!


The birthday girl's aunt Jenny really going to town on the Love is Blind game.
After the games it was cake and present time!

Love this girl!!
The party turned out to be a big success.  I love it when you can plan way in advanced and really get a lot of theme, for not a lot of money.  I also love the challenge of letting my girls pick a theme that is not necessarily a "normal" birthday party theme, where you can easily find plates and cups in the birthday section at the store.  Having a "rainbow" or a "heart party" can be tricky. Working food, games, shapes, and crafts into your theme, while still keeping an end budget in mind can be challenging.   Feel free to use some of these fun heart-shaped ideas in an upcoming Valentine party at work or school.  Enjoy!

Saturday, February 01, 2014

Superbowl "BOOM" Cake (Pistachio Cake with pourable frosting)

Well everyone around here is getting ready for the biggest football game of the year, the Superbowl!  You must know by now how much I adore coordinating theme colors into my food selections, so what better way to rev up your team spirit than with a tasty cake in your team colors? 

A Superbowl "boom" cake inspired by the Seahawks team colors
A few months back on pinterest I saw a recipe for a pistachio bundt cake that had a lovely lime green coloring to it.  I wasn't too sure if we would like a pistachio flavor, but tucked that lime green color into the back of my head in case I ever needed a green themed food.  When I realized our home team's highlight color was indeed the color lime, coupled with the fact that I was in charge of bringing a dessert to the party, a light bulb went off.  I could make a yummy lime green cake and top it with Seahawks colors.  Perfect.


After reading through the comment section of the original recipe for this cake, I modified it slightly.  Here is how I made it and what you will need: (full printable recipe found at the end of the post)

Ingredients:

1 box (Duncan Hines) white cake mix
1 3.2 oz box of pistachio pudding mix
3 eggs
1 cup of water
1/4 cup of oil
2 teaspoons almond extract
7 drops of green food coloring

In a bowl, mix together the white cake mix and the pistachio pudding mix.  You want to use Duncan Hines cake mix specifically, because they do not already add pudding into their mix.


Then add in 3 eggs, 1 cup of water, 1/4 cup of oil, 2 teaspoons almond extract and the green food coloring.  


Beat with an electric mixer for 2 minutes until blended together


Meanwhile, grease and flour a bundt cake pan very well.


Pour the cake batter into the pan, make sure it goes in evenly.

With this lovely green color, I'm thinking this cake will work great for St. Patrick's day or for a nice spring-hued cake
Bake in the oven at 350ยบ for 45-50 minutes.  When it comes out, it will look like this:


The one, main trick to ANY bundt cake, is to set a timer for 10 minutes after the cake comes out of the oven.  You will want to turn this cake out on a serving plate while it is still quite warm, or it won't come out of the pan very well.  So with oven mitts and a steady hand, flip this cake out onto a large plate.


Let the cake completely cool on the plate.  Now comes the fun part.  I had seen (again, thank you pinterest), a technique using regular store bought frosting in the microwave.  Heating it up slightly made it a pourable, drizzle-able glaze of sorts.  I had never tried anything thing like this, but for the 3-color vision in my head, I wanted to see if it would work.  First, I split the tub of frosting into three sections.


Two small, microwave safe bowls, and the left over I was going to leave white in the tub.  I nuked the tub for 10 seconds, then took it out to stir.  It was a little thick, so I added 1 teaspoon of milk and microwaved it for 10 more seconds. 


Now the consistency was nice and loose, and I felt it would be a good drizzling thickness.  Holding the tub right over the cake, I dipped in a large spoon, held it up and starting running my hand back and forth over the ring.

 
It is okay if it drips down onto the plate, or inside the ring.  Next, I dyed one of the bowls with blue food coloring and stirred it up.  Using the same technique I did with the white, which was 10 seconds in microwave, stir, add 1 tsp of milk, 10 more seconds, then it was ready to drizzle.


I had so much fun with this I forgot to show the blue layer.  Next came the green layer.  To get a more lime green color, I used the regular green dye at first, but then added a couple drops of the neon green food coloring to give it that oomph it needed to be truly lime green.


Use the same microwave, melting, milk, stirring process as the other two colors and drizzle away.  Here is an aerial view of the cake.  After the three main thick colors, I went back over with the white and did a very thin top layer to bring out all three colors better.


This thing looks like an explosion of color, which is why I decided to call it a "BOOM" cake.


You bring this to a Superbowl party and I promise any die hard fan will go NUTS over this. My favorite part of this cake is the surprise lime green center that no one will be expecting.


Yummy yummy... I should probably serve this with a side of Skittles...


It's hard not to dive right in.  Here's a close up of the ring after a slice has been cut.  The pistachio flavor, by the way, was very mild.  I could almost not taste a big difference in flavor, but it slightly reminded me of Spumoni ice cream you would get after dinner at the Spaghetti Factory.  If you do not have pistachio flavor, you could totally use vanilla pudding and then you would also be free to dye the center any team color you wanted.


The great thing about this idea is, you can pick any colors you want.  I was so surprised that the melting the frosting, turned it into a pourable glaze and really worked pretty awesome.  Especially on a bundt cake where normally your only options are a dusting of powdered sugar.  But I imagine you could do a strawberry cake with different shades of red white and pink for Valentine's day.  You could do orange and purple and black over a chocolate cake for Halloween.  You could do pastel colors for a cute Easter cake.  You could make it any sports team colors.  I fell in LOVE with this idea!  I really did.  Let me know if you make a cake like this and what color theme you used.  For link to full printable recipe, click here.  Enjoy!!
Related Posts Plugin for WordPress, Blogger...